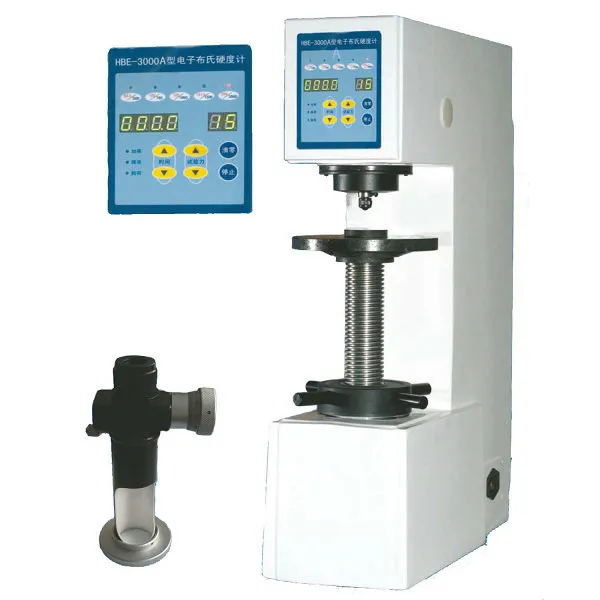
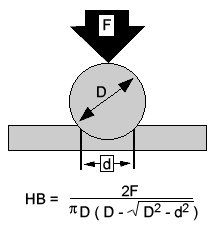
Brinell hardness is an indicator used to represent the hardness of a material. It is measured by pressing a hardened steel or carbide ball of a certain diameter into the surface of the metal being tested with a specified test force (F). After maintaining the force for a specified time and then removing it, the diameter (d) of the indentation on the surface is measured. The average pressure is then calculated based on the area of the indentation, which is used to indicate the hardness value of the material.

The test is achieved by applying a known load to the surface of the tested material through a hardened steel ball of known diameter. The diameter of the resulting permanent impression in the tested metal is measured and the Brinell Hardness Number calculated as
BHN = 2 P / (π D (D - (D2 - d2)1/2))
where
BHN = Brinell Hardness Number
P = load on the indenting tool (kg)
D = diameter of steel ball (mm)
d = measure diameter at the rim of the impression (mm)
It is desirable that the test load are limited to a impression diameter in the range of 2.5 to 4.75 mm.
Standards for the Brinell Hardness Test
ASTM E10: ASTM E10 specifies the test method for the Brinell hardness of materials, ensuring consistency and reliability in testing across various industries.
ISO 6506: The Brinell hardness test is standardized under ISO 6506. This standard outlines the testing procedures, equipment specifications, and calculation methods.
JIS Z 2243
Brinell Hardness Testing Procedure
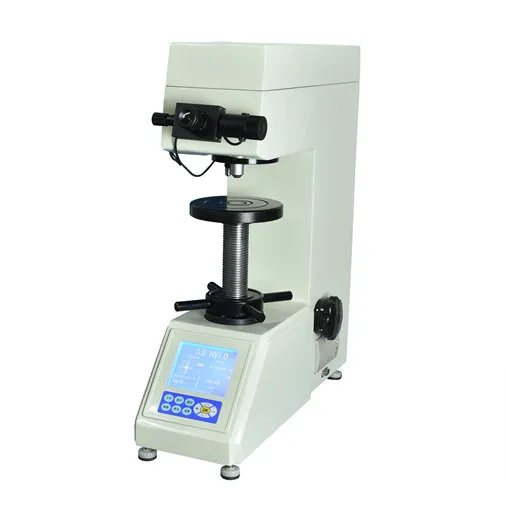
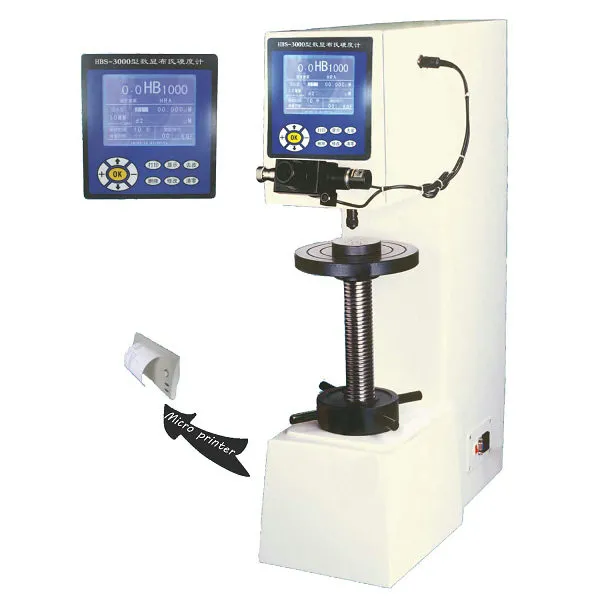
Brinell hardness testing is performed on a Brinell hardness tester. In this testing method, a predetermined force (F) is applied to a hard alloy ball of fixed diameter (D), held for a set amount of time, and then removed. The spherical indenter leaves a mark (permanent deformation) on the tested metal piece. The diameter of this mark is measured in two or more directions, and then an average is calculated to obtain the indentation diameter (d). Using this indentation size (d), the Brinell hardness number (BHN) can be determined either by consulting a chart or calculating it using the Brinell hardness formula.
The test procedure is as follows:
The indenter is pressed into the sample by an accurately controlled test force.
The force is maintained for a specific dwell time, normally 10-15 seconds.
After the dwell time is complete, the indenter is removed leaving a round indent in the sample.
The size of the indent is determined optically by measuring two diagonals of the round indent using either a portable microscope or one that is integrated with the load application device.
The Brinell hardness number is a function of the test force divided by the curved surface area of the indent. The indentation is considered to be spherical with a radius equal to half the diameter of the ball. The average of the two diagonals is used in the above formula to calculate the Brinell hardness.
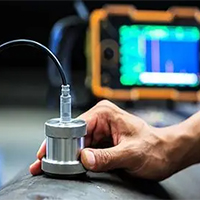
Equipment used for Brinell hardness testing includes:
- Brinell hardness tester
- Indenter ball, and
- Brinell microscope for measuring the resulting indentation.
Application Examples:
500 kgf for aluminum, 3000 kgf for steel
Materials need specific test parameters based on their hardness:
Steel and cast iron testing typically uses a 10mm ball with a 3000 kgf test force (HBW 10/3000). This high force-diameter ratio of 30 works best for hard materials with hardness between 95.5 and 650 HBW. HBW 5/750, HBW 2.5/187.5, and HBW 1/30 are other valid combinations with the same ratio.
Aluminum alloys and other light metals need much lower test forces. A 10mm ball with a 500 kgf test force (HBW 10/500) works well. This force-diameter ratio of 5 suits materials with hardness between 15.9 and 109 HBW. You can also use HBW 5/125, HBW 2.5/31.25, and HBW 1/5.
Copper alloys need medium test forces. Their hardness determines whether they need a force-diameter ratio of 5 (softer alloys) or 10 (harder variants with HBW between 32 and 218).
The ball diameter should be as large as possible to cover more of the sample surface. Larger diameters help average out material variations, which explains why many applications prefer the 10mm ball.


